Process
This project consisted of both large-scale changes and frequent small revisions. The first challenge we completed was to modify a servo motor to produce a robust motor that would twist blinds as we wished.
Next, the team worked on the interface between the motor and blinds, first producing weak and hard-to-install components. These evolved into a usable system, but they were ultimately scrapped in favor of a less adjustable but simpler and more reliable mount.
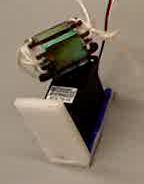
This is our first “final” idea. We decided to go with a design that is as simple as possible. Therefore we decided to attached the bottom of the wand to the top and center of the servo, then the rotation of the servo arms would turn the wand. There were several ideas – clips, rubber bands, glue. We knew we need something that could squeeze the wand and would not slip whenever the servo turned. We decided on a corset clasp design which was laser cut out of plastic. Inside there is a foam block which held the wand, and it was synched together with string. This provided force on the wand enough to hold it in place while the servo rotated. However, it is not extremely sturdy and clumsy to install, therefore we searched for a better design and finally settled on the metal rod holder that is used in our final system, which is much cleaner, looks nicer, and is easier to install.
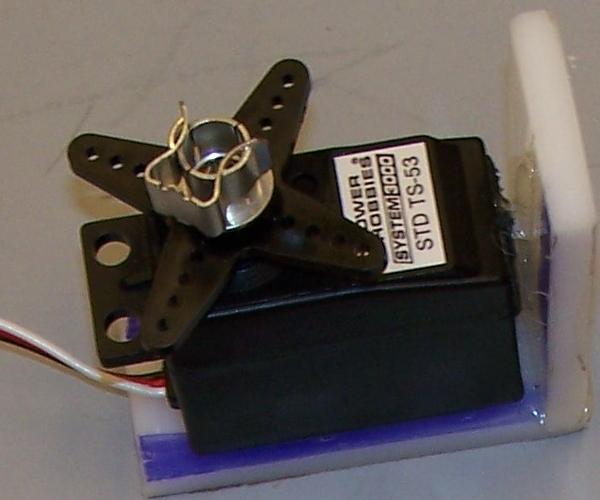
Finall wall mount and blind rod holder.
Working of the Initial System
Similarly, on the electronic side, input and output mechanisms were sometimes incrementally improved, sometimes scrapped for a better design. The sensor array was changed incrementally, adding or subtracting items to fit what made sense to have as control inputs.
In contrast, feedback about the state of the blinds was something we struggled with all semester long without finding a suitable solution. The initial plan (and the final implementation) counts the amount of time the servo spends turning. However, this is not fitting for long-term operation when error can build over time.
We experimented with reading a blinds-closed state by measuring the current the servo drew, but that module ended up using too much power itself. We also investigated a simple mechanical tilt switch that seemed very promising, but implementation was problematic, so we finally returned to time-based control.
In software, there was a continual learning process about how PICs work and how to get them to interact properly with the circuit. The rest of the work was for our team of relative novices to get more familiar with the C programming language and to design good software.
Throughout the project, we spent a total of $68.80, as shown below. The cost of a single prototype would be $34.95.
| Item | Quantity | Cost (Total) |
| Servo (STD53) | 3 | $30.00 |
| Foam Stickies | 2 | $4.00 |
| Temperature Sensor (LM35DT) | 1 | $3.00 |
| Light Sensor | 1 | $0.60 |
| Transistor (IRF1104) | 1 | $5.00 |
| Diode | 1 | $1.00 |
| Buttons | 2 | $0.60 |
| Battery holder | 1 | $1.00 |
| Quad op-amp (LM324) | 1 | $2.00 |
| Pic (18F2455) | 1 | $4.00 |
| Resistors | 10 | $0.10 |
| Capacitor | 1 | $0.25 |
| 10 k power resistor | 1 | $0.25 |
| Breadboard | 1 | $10.00 |
| USB port | 1 | $7 |
| $68.80 |